Welcome to the vibrant and expressive world of watercolor painting! If you've ever admired watercolor artworks and wondered how these masterpieces come to life, you're in the right place. Watercolor painting is not only a wonderful way to express creativity, but it's also incredibly accessible for beginners. No matter your skill level, there's something uniquely satisfying about watching colors blend and flow on paper.
Here at Prestigify, we believe that everyone has an inner artist waiting to be unleashed. That's why we've crafted this easy-to-follow tutorial, tailored especially for beginners. Our aim? To guide you through the basic steps of watercolor painting, ensuring a fun and rewarding experience. Whether you're looking to unwind with a new hobby or dive into the art world, this tutorial will set the foundation for your watercolor journey.
So grab your brush, and let's dip into the colorful adventure of watercolors!
Table of Contents:[hide]
Understanding Watercolor Supplies
Embarking on your watercolor journey begins with understanding your tools. Just like a chef needs the right ingredients, a watercolor artist needs the right supplies. Let's break down the essentials you'll need to get started. Don't worry, you won't need to break the bank—Prestigify offers a range of high-quality, affordable options perfect for beginners!
-
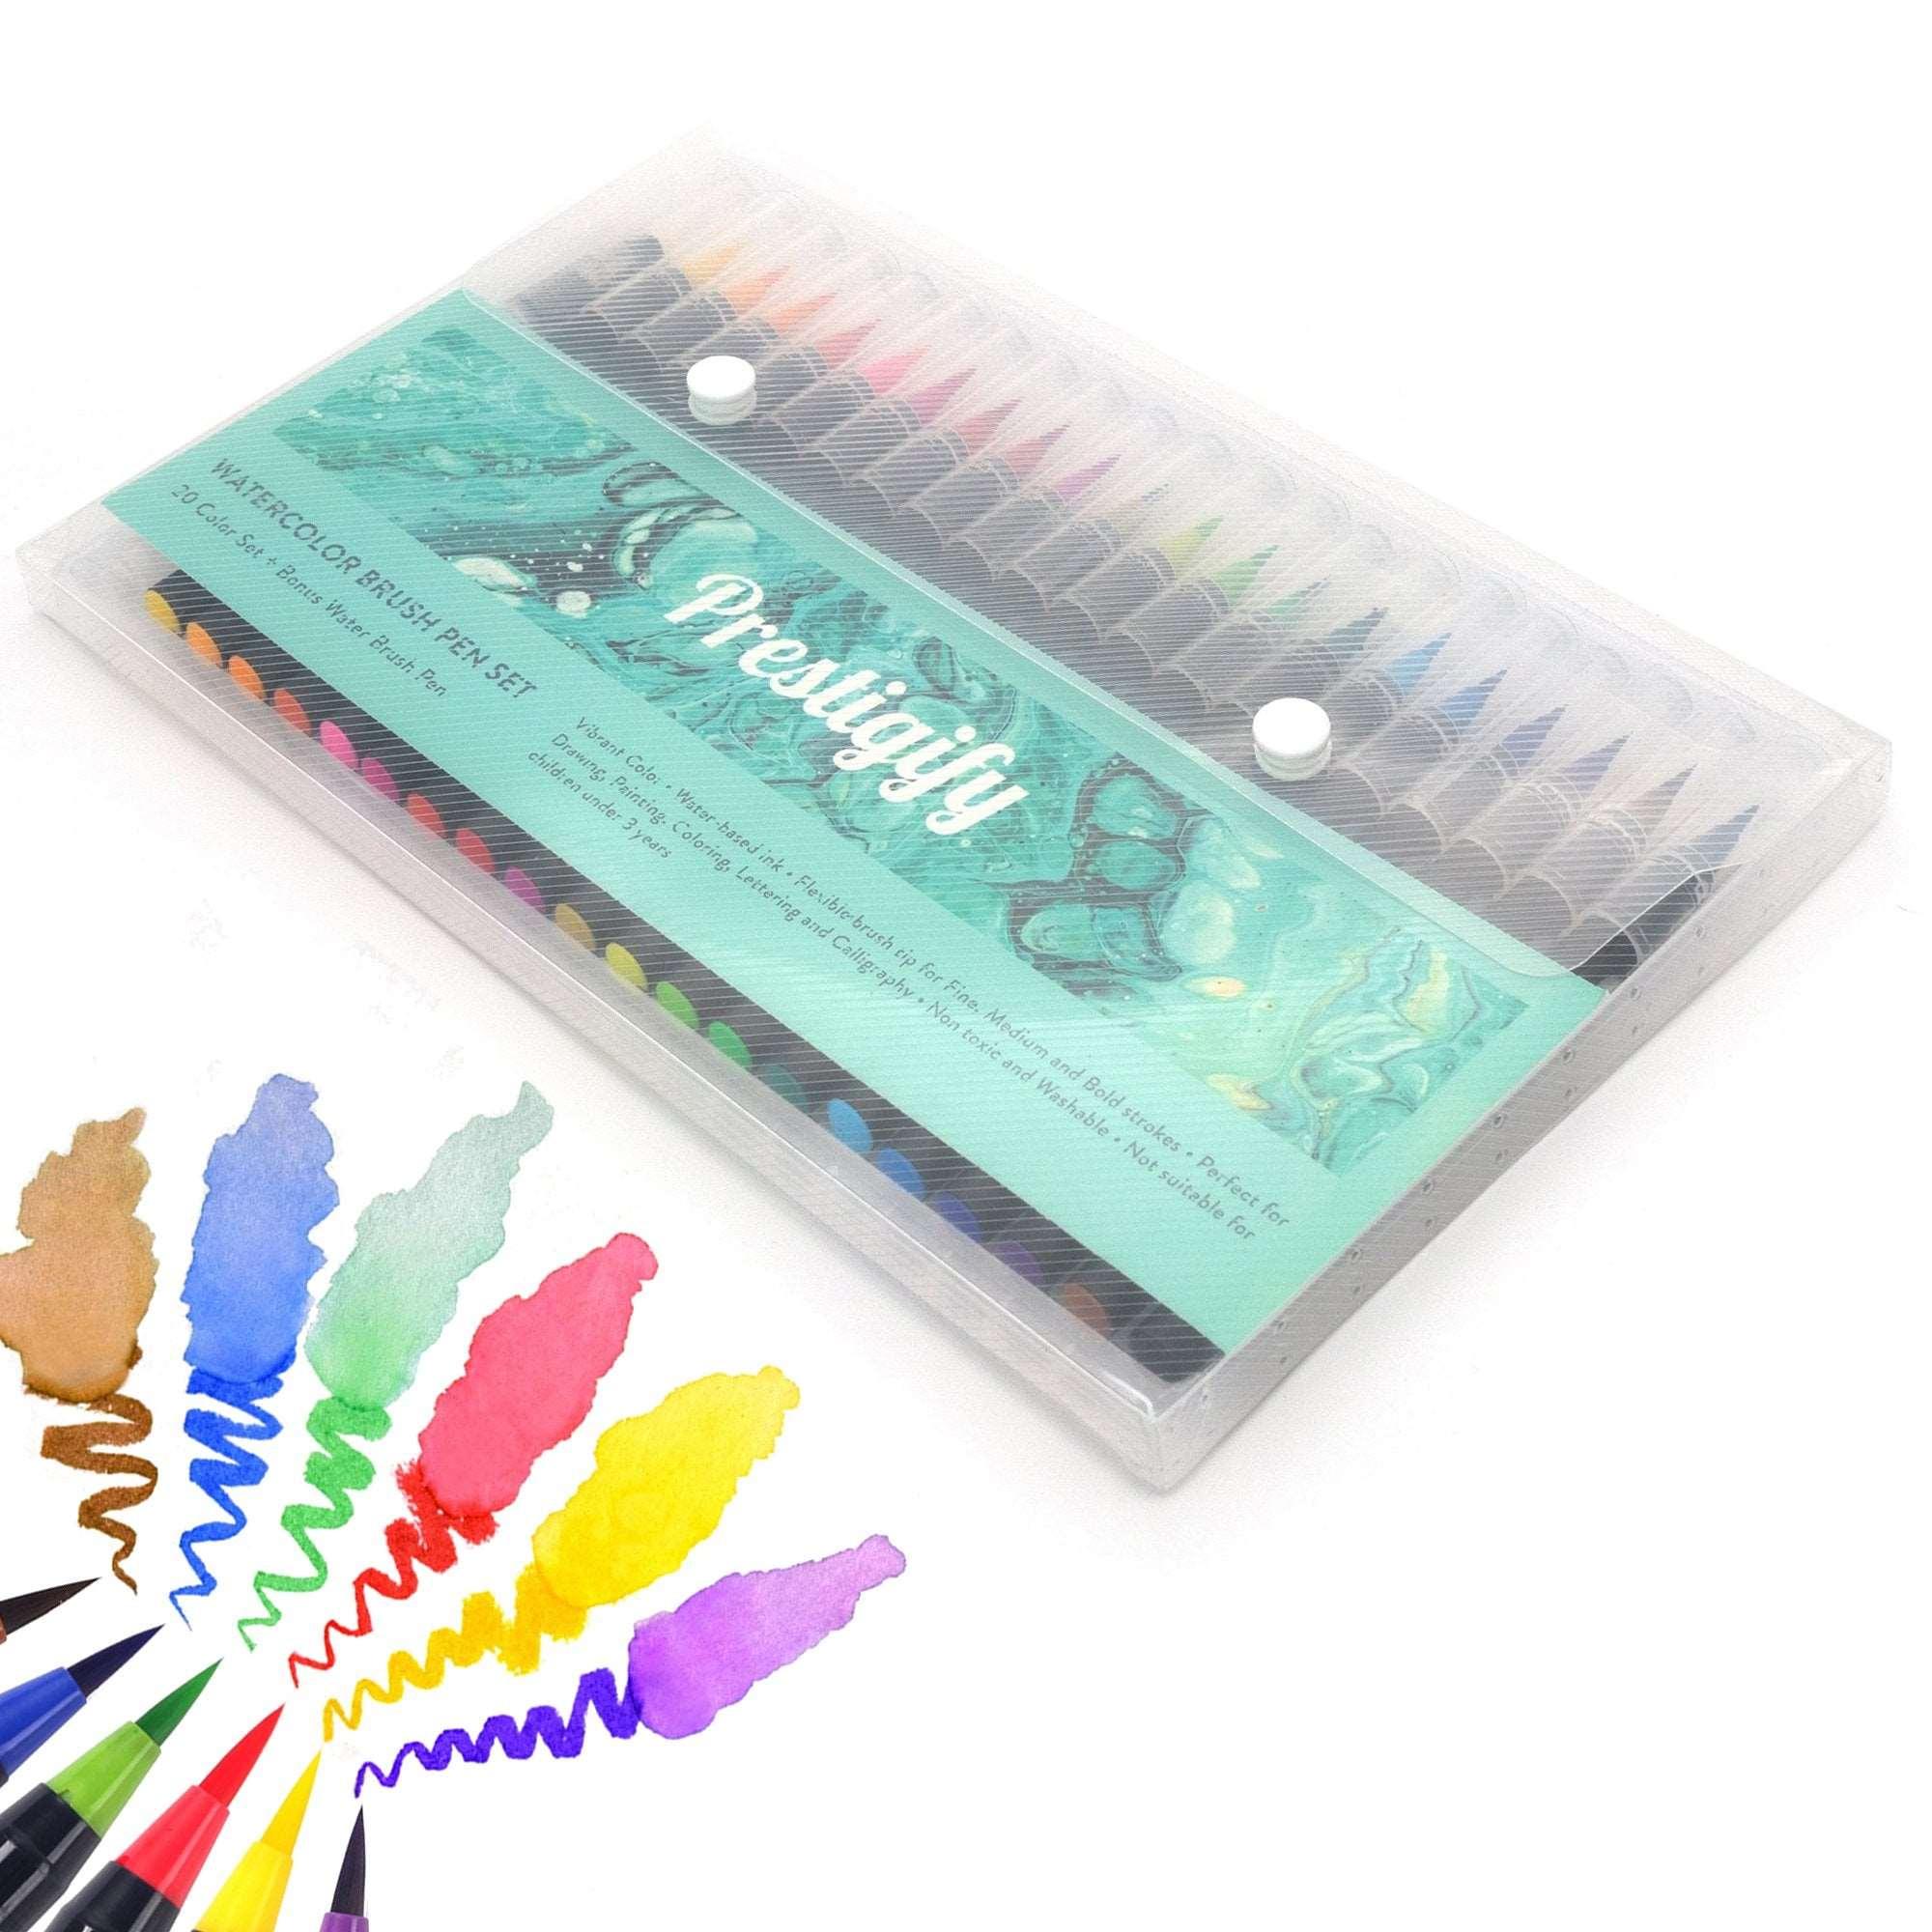
Brushes: The magic wands of watercolor painting! There are several types of brushes, but as a beginner, focus on a few key types. A medium-sized round brush is versatile for various strokes, while a flat brush can cover larger areas and create sharp edges. Brushes come in different fibers, like natural or synthetic. Synthetic brushes are a cost-effective and durable choice for starters.
-
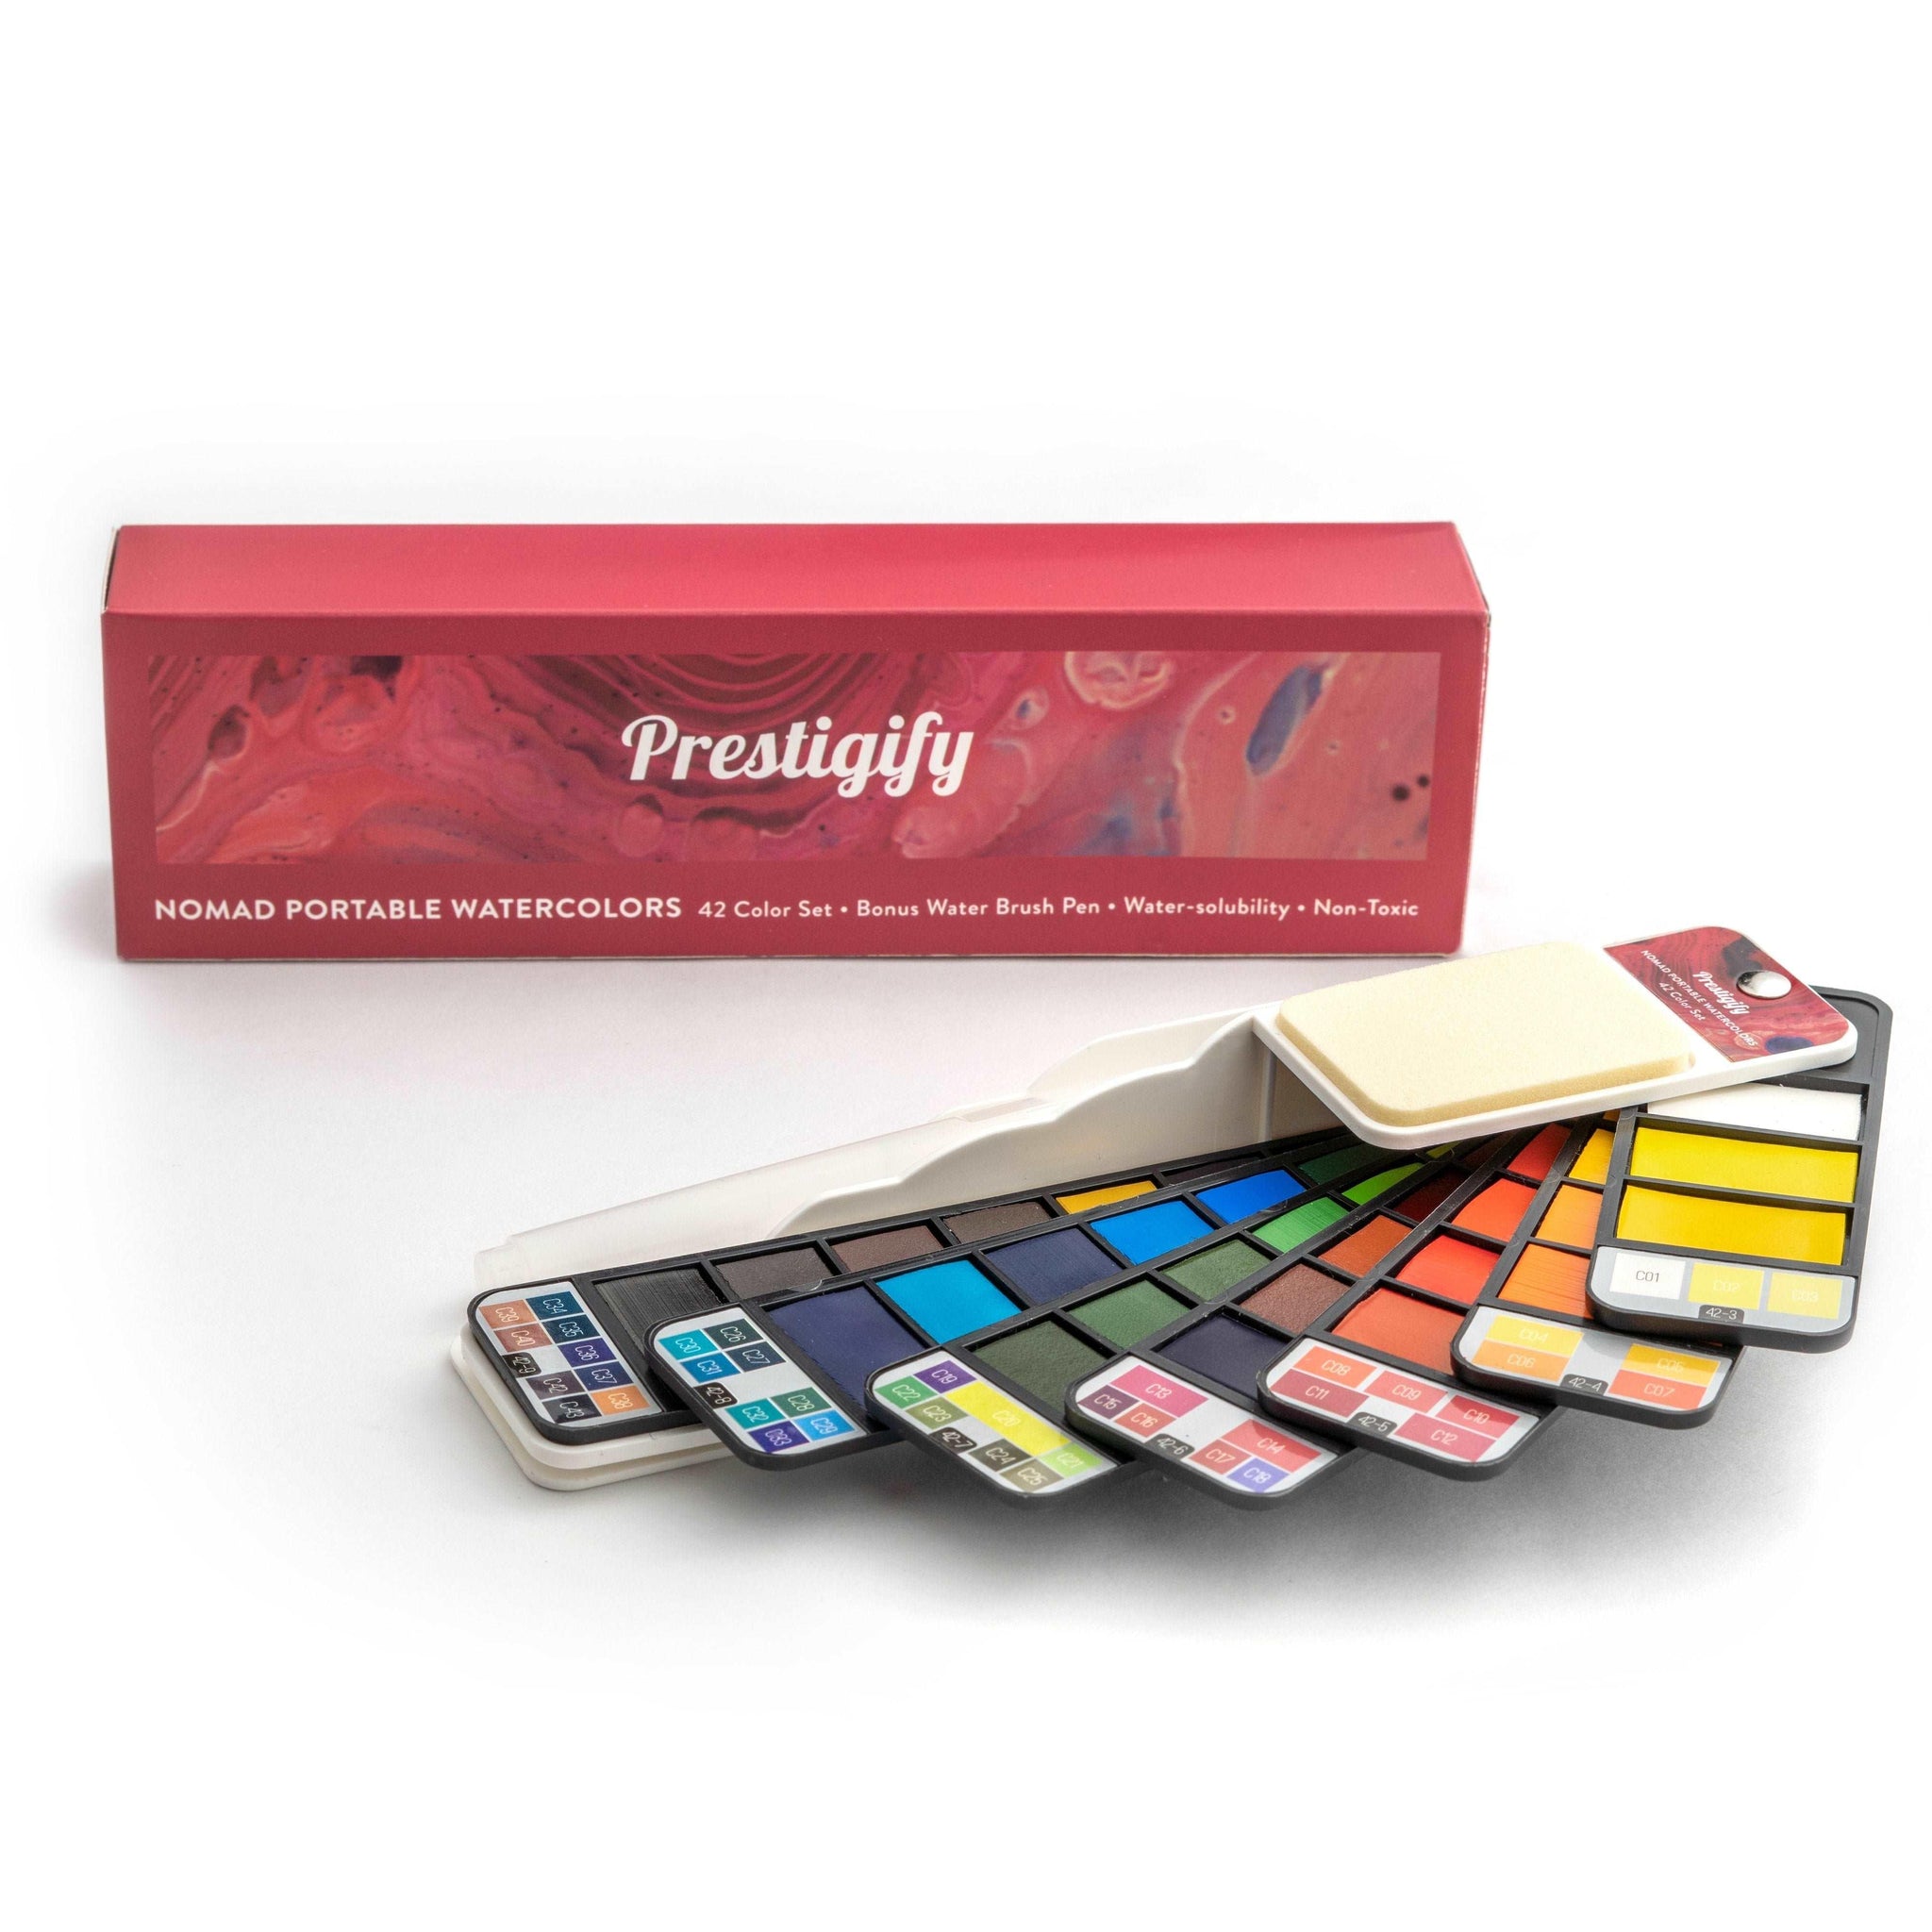
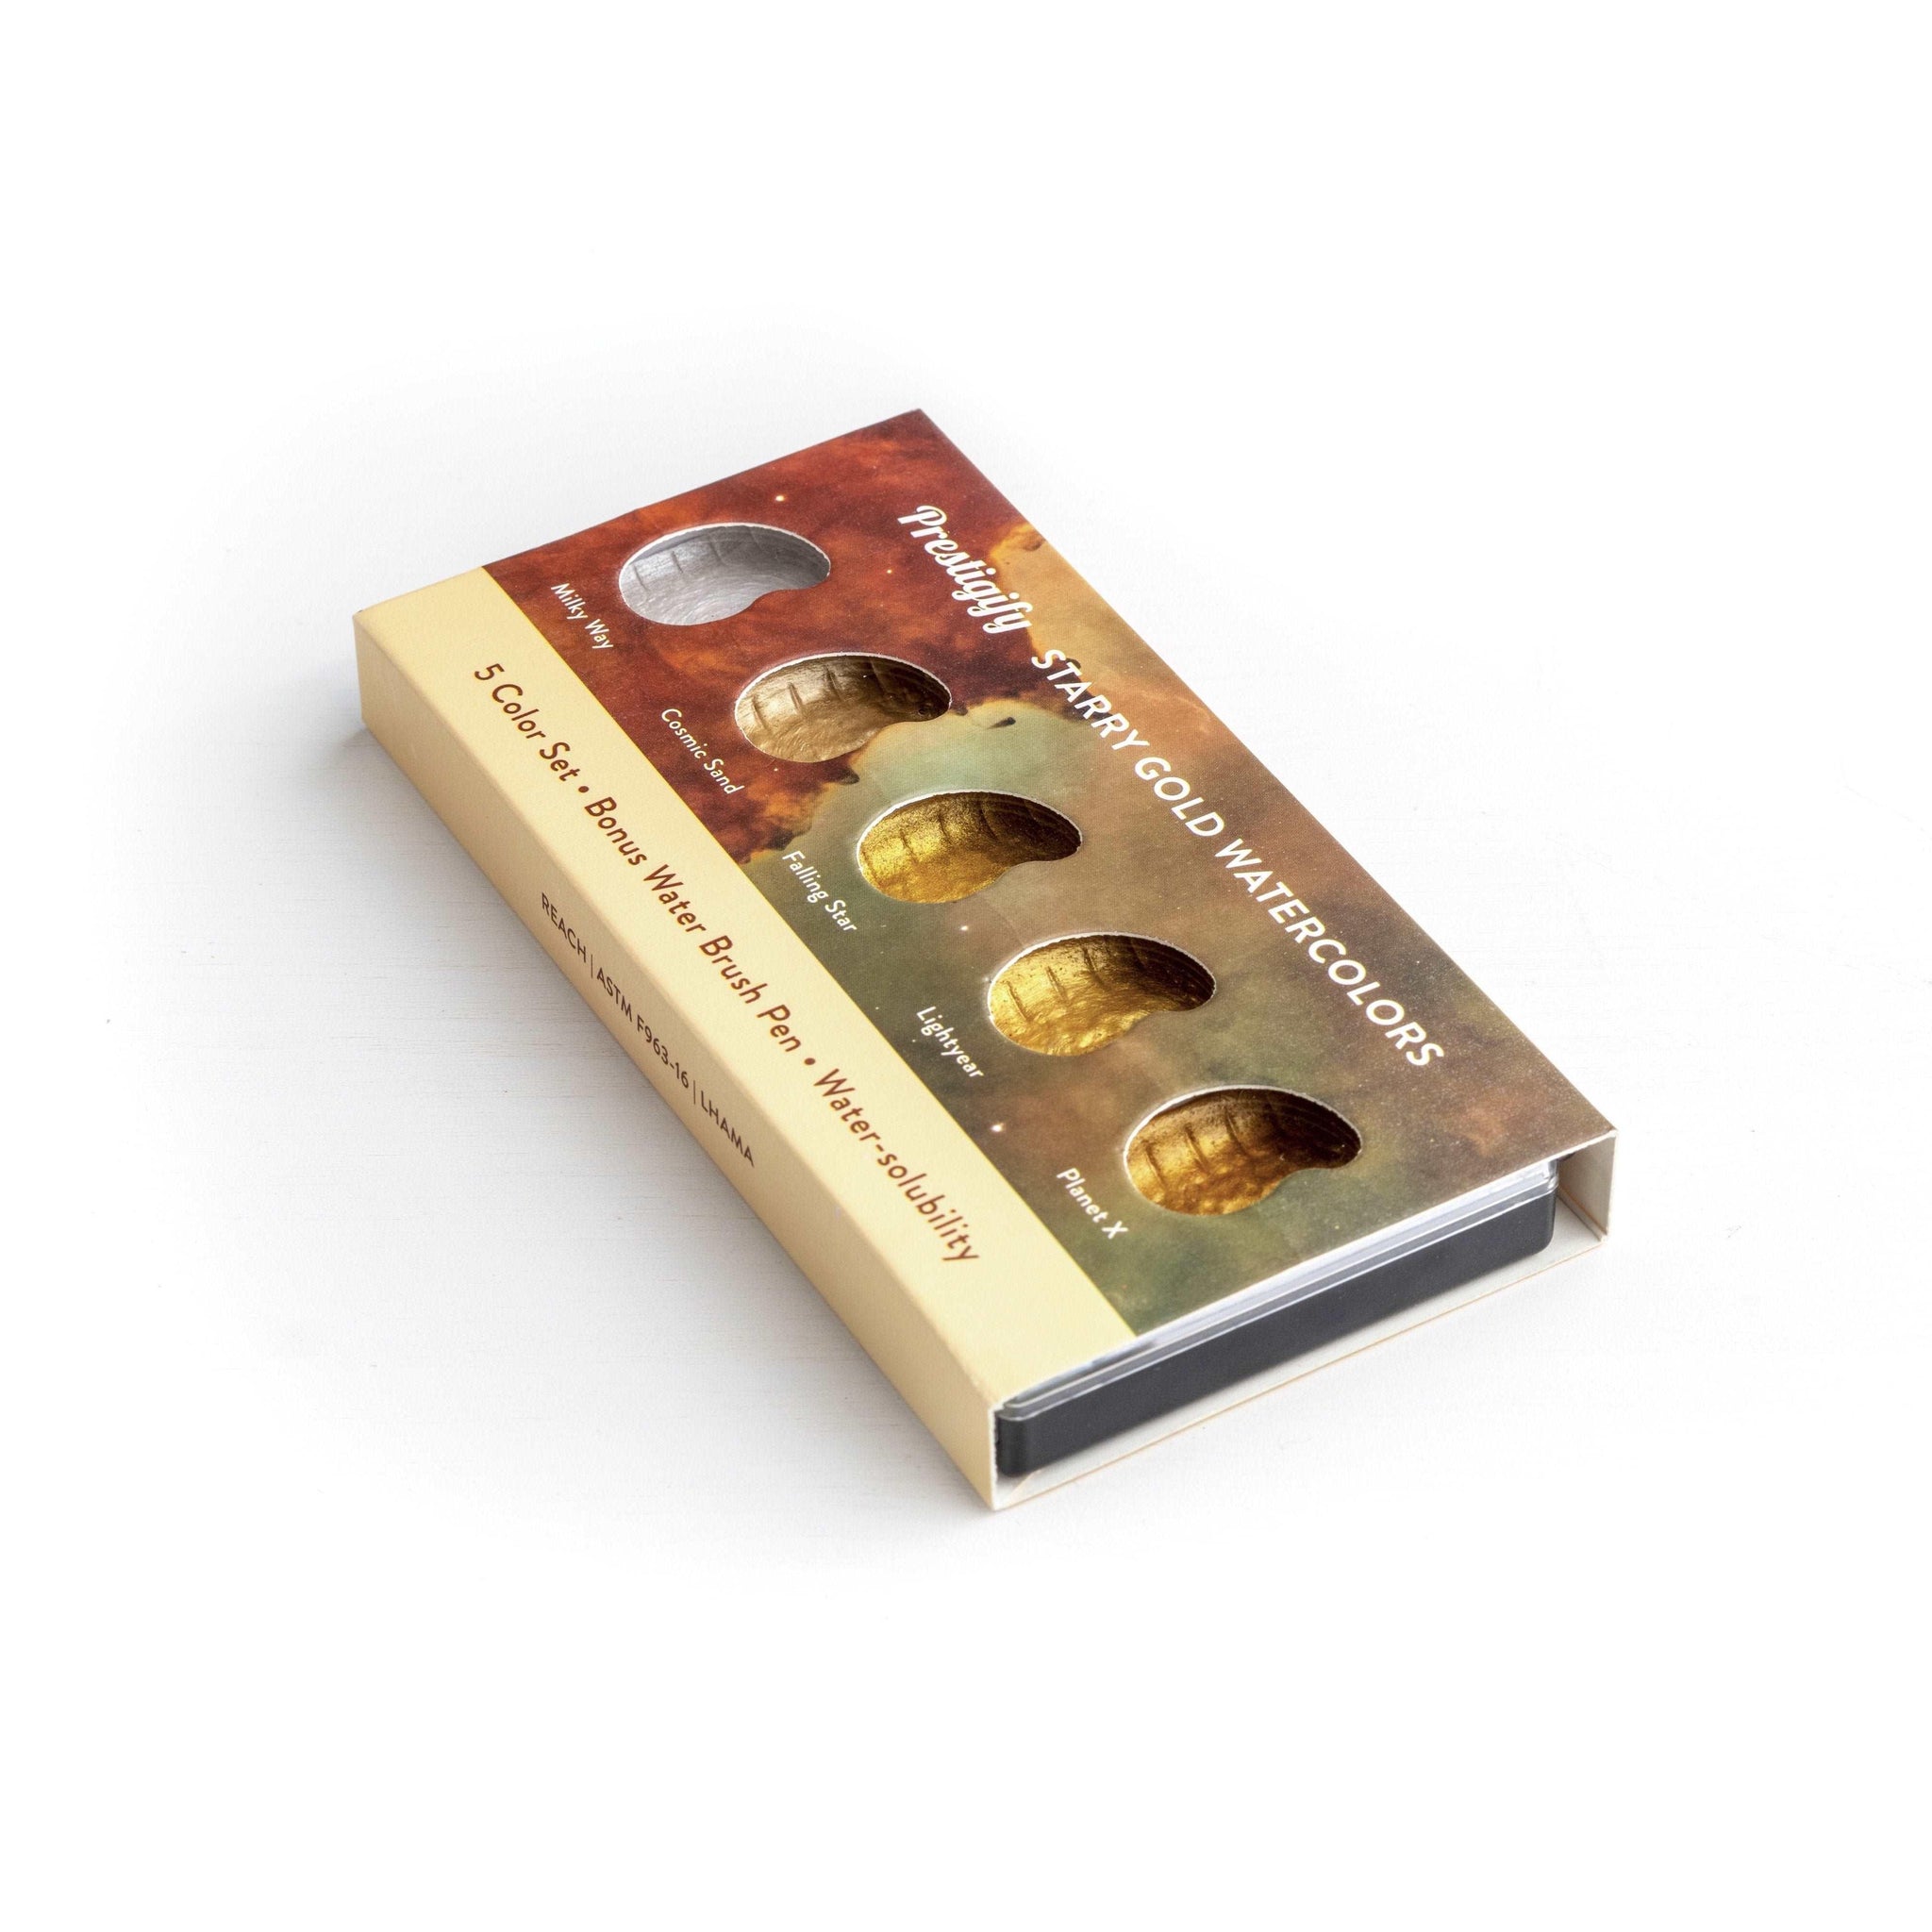
Paints: Watercolors come in tubes and pans. As a beginner, pan sets are convenient and offer a good range of colors. There are two grades of watercolor paints: student and artist. Student grade is more affordable and perfect for learning. Don’t get overwhelmed by the color choices; a basic set with primary colors (red, blue, yellow), along with black and white, is a great starting point. You can mix these to create a wide range of hues.
-
Paper: The right paper makes a big difference. Watercolor paper is thicker to absorb water without warping. Look for papers labeled as ‘cold press’ for a beginner-friendly texture that’s forgiving for various techniques. Weight is also important - a good starting point is 140lb (300gsm) paper.
-
Additional Supplies: A few more things will round out your kit. You'll need a palette for mixing colors, which can be as simple as a white ceramic plate. Two jars of water are essential—one for washing your brush and the other for clean water. And don't forget paper towels or a cloth for blotting your brush and correcting small mistakes.
Remember, the best supplies are the ones you feel comfortable using. Experiment with different materials to find what works best for you. And remember, Prestigify is here to support you every step of the way with quality supplies tailored for budding artists like you.
Setting Up Your Workspace
Creating art is not just about the tools and techniques; it's also about crafting the right environment. Setting up your workspace is a crucial step in your watercolor journey. A well-organized and comfortable workspace not only enhances your painting experience but also helps in keeping you inspired and focused. Here are some tips to help you set up the perfect space for your watercolor creations:
-
Choose a Well-Lit Area: Good lighting is key in watercolor painting. Natural light is ideal, so try to set up your workspace near a window. If that's not possible, a good desk lamp can do wonders. Proper lighting will help you see the true colors of your paint and the nuances in your work.
-
Comfort is Key: Make sure your workspace is comfortable. Adjust your chair and table to a height that doesn't strain your back or neck. Comfortable seating will allow you to paint for longer periods without discomfort.
-
Organize Your Supplies: Keep your watercolor supplies within easy reach. Organize your brushes, paints, water jars, and paper so that everything is conveniently accessible. This reduces interruption and keeps you focused on your art.
-
Protect Your Space: Watercolor painting can get messy. Protect your table with an old newspaper or a waterproof tablecloth. This not only makes cleanup easier but also protects the surface from stains and water damage.
-
Set Up Water Jars: Remember, you need two jars of water – one for rinsing your brush to switch colors and the other filled with clean water for painting. This helps keep your colors pure and vibrant.
-
Palette Placement: Place your palette on your dominant side for easy access. This makes mixing colors more efficient and natural.
-
Inspiration at Hand: Surround yourself with items that inspire you. It could be a few art books, photographs, or even a small plant. These items can stimulate your creativity and make your workspace more personal and motivating.
Setting up your workspace is a personal and exciting process. It's about creating a little sanctuary where you can let your creativity flow. Remember, there’s no one-size-fits-all approach – tailor your space to suit your comfort and artistic style.
Basic Watercolor Techniques
Mastering a few fundamental techniques can turn your watercolor painting from a mere sketch into a vibrant masterpiece. As a beginner, it’s important to understand these basics to build your skills. Here are some essential techniques to get you started on your watercolor journey:
-
Wet-on-Wet Technique: This is where the magic of watercolor really shines. To use this technique, start by applying a layer of clean water on your paper. Then, while it's still wet, add your watercolor paint. This allows the colors to blend and spread, creating soft edges and a fluid appearance. It's perfect for creating skies, water, and dreamy backgrounds. Experiment with adding more or less water to see how it affects the spread of the pigment.
-
Wet-on-Dry Technique: For more control and sharper edges, the wet-on-dry technique is your go-to. This involves applying wet paint onto dry paper. It's great for adding details and layers over a dry base. This technique allows you to have more control over the shape and intensity of your colors. It's ideal for painting objects, landscapes, and adding fine details.
-
Dry Brush Technique: When you want to create texture and a sense of movement, try the dry brush technique. With a relatively dry brush (only a small amount of paint), drag the brush across dry paper. This technique creates a scratchy, textured effect that’s great for depicting foliage, rocks, or rough surfaces.
-
Gradients: Gradients or color transitions are fundamental in watercolor painting. To create a gradient, start with a saturated color and gradually add water to your brush as you move along the paper. This technique creates a smooth transition from a darker to a lighter shade, adding depth and realism to your work.
Each of these techniques can open up a world of possibilities in your watercolor paintings. The key is to practice them individually and then start combining them as you grow more confident. Remember, watercolor is a fluid and sometimes unpredictable medium, so embrace the surprises and happy accidents along the way. They often lead to the most beautiful results!
Step-by-Step Beginner's Project
Now that you're familiar with the basic techniques, let's put them into practice with a fun, simple project. We'll create a beautiful watercolor landscape, perfect for beginners. This project will incorporate the techniques we've discussed, giving you a chance to explore your new skills. Ready? Let’s get started!
Project Overview: We’ll paint a serene landscape – think rolling hills, a peaceful sky, and a quaint tree. This project is designed to be relaxing and enjoyable, allowing you to experiment with colors and techniques without the pressure of perfection.
Materials Needed:
- Watercolor paper
- Medium round brush and a small flat brush
- Watercolor paints (a basic set)
- Two jars of water
- Paper towels
- Pencil (for light sketching)
Step 1: Sketching the Outline
- Lightly sketch the outline of your landscape on the watercolor paper. This includes the horizon line, a simple tree shape, and maybe a few hills. Keep the sketch light, so it doesn’t show through the paint.
Step 2: Painting the Sky (Wet-on-Wet Technique)
- Start with the sky. Apply a light wash of clean water across the area where the sky will be.
- While the paper is still wet, gently add in your sky color (blues, or even a soft sunset palette). Watch as the colors blend on the paper.
Step 3: Adding the Landscape (Wet-on-Dry Technique)
- Once the sky is dry, move on to the hills. Using the wet-on-dry technique, apply a green hue for the grassy areas. Start with a lighter color and gradually add darker shades to create depth.
Step 4: Painting the Tree (Dry Brush Technique)
- For the tree, use the dry brush technique to create texture in the leaves and bark. Use a mix of green and brown, and remember, trees aren’t perfect – uneven shapes add character!
Step 5: Adding Layers and Details
- Add layers to your painting to enhance depth and realism. This could be darker shades in the landscape for shadows or adding small details like a fence or flowers in the field.
Step 6: Drying and Final Touches
- Let your painting dry completely. Once it's dry, you can add any final details or adjustments. Maybe a few birds in the sky or some highlights in the grass.
Congratulations, you’ve just completed your first watercolor landscape! Remember, art is a personal journey, so your painting doesn’t need to look exactly like anyone else’s. It's all about the experience and the joy of creating something uniquely yours.
Tips for Success
As you embark on your watercolor journey, remember that every artist was once a beginner. Here are some tips to help you grow and enjoy your watercolor experience:
-
Practice Patience: Watercolor painting requires a bit of patience, especially when waiting for layers to dry. Resist the urge to rush – good art often takes time.
-
Embrace Imperfections: Your first attempts might not turn out as you expect, and that's perfectly okay. Watercolor is a fluid and somewhat unpredictable medium, which is part of its charm. Each mistake is a learning opportunity.
-
Experiment Freely: Don't be afraid to try new techniques, mix different colors, or play with textures. Experimentation is key to finding your unique style and voice in your artwork.
-
Keep a Watercolor Journal: Consider keeping a small watercolor journal or sketchbook. It’s a great way to practice regularly, try new ideas, and see your progress over time.
-
Watch and Learn: There are countless resources available – from online tutorials to watercolor workshops. Watching others can provide new insights and inspiration.
-
Stay Inspired: Surround yourself with things that inspire you. It could be nature, photographs, other artworks, or even music. Inspiration is everywhere!
-
Join a Community: Connect with other watercolor enthusiasts. Online communities and local art groups can be great sources of support, feedback, and motivation.
-
Take Care of Your Supplies: Quality supplies can last a long time if cared for properly. Clean your brushes after each use, close paint containers tightly, and store paper in a dry place.
Remember, the journey of art is personal and subjective. There's no right or wrong way to create. What matters most is the joy and fulfillment you find in painting.
Caring for Your Watercolor Supplies
Taking good care of your watercolor supplies not only extends their life but also ensures the best performance during your painting sessions. Here are some essential tips to keep your watercolor supplies in top condition:
-
Cleaning Your Brushes: Proper brush care is crucial. Clean your brushes with lukewarm water immediately after use. Gently reshape the bristles with your fingers and lay them flat to dry. Avoid leaving brushes soaking in water, as this can damage the bristles and handle.
-
Storing Brushes: Once dry, store your brushes either lying flat or upright in a jar with bristles facing upwards. This prevents the bristles from bending and losing their shape.
-
Preserving Paints: Whether you’re using tubes or pans, ensure they are tightly closed or covered after use to prevent the paints from drying out. If you're using tube paints, squeeze out only what you need, and keep the tube threads clean to avoid sealing issues.
-
Caring for Watercolor Paper: Store your watercolor paper in a dry, flat place to prevent warping or moisture damage. If you live in a humid area, consider using a sealable container to protect the paper.
-
Palette Maintenance: After your painting session, clean your palette to remove any residual paint. This prevents colors from mixing and gives you a fresh, clean surface for your next session.
-
Avoid Direct Sunlight: Store your supplies in a cool, dry place away from direct sunlight. Sunlight can fade your paints and dry out your brushes.
-
Regular Checks: Periodically check your supplies for any wear or damage. This includes checking brushes for loose bristles, ensuring paint tubes or pans aren’t dried out, and verifying the condition of your paper.
By taking care of your watercolor supplies, you not only save money in the long run but also ensure that every painting session is as enjoyable and productive as possible. Remember, your supplies are your partners in the creative process. Treat them well, and they will help you produce beautiful art for years to come!
Conclusion
Congratulations on taking your first steps into the colorful and rewarding world of watercolor painting! We hope this guide has sparked your creativity and given you the confidence to start your artistic journey. Remember, every great artist starts somewhere, and the beauty of watercolor is in its blend of simplicity and depth, perfect for beginners and seasoned artists alike.
As you continue to explore and grow in your watercolor skills, remember that Prestigify is here to support you every step of the way. Our blog is regularly updated with tutorials, tips, and artistic insights designed to inspire and guide you. Don’t miss out – subscribe to our blog for more helpful tutorials and art tips.
If you’re in need of high-quality art supplies, look no further than Prestigify. We offer a curated selection of brushes, paints, paper, and more, all tailored to enhance your painting experience. And for an extra dose of inspiration and to be part of a vibrant artist community, don’t forget to follow us on social media. Here, you’ll find a wealth of inspiration and opportunities for community engagement, helping you to connect with fellow artists and share your beautiful creations.
The journey of art is endless and filled with discoveries. Keep painting, exploring, and sharing your art with the world. Happy painting, and we can’t wait to see what you create!